how to: denim mending
I have gotten multiple inquires in response to my previous blog post asking for a more in depth explanation of how to mend and repair denim jeans.
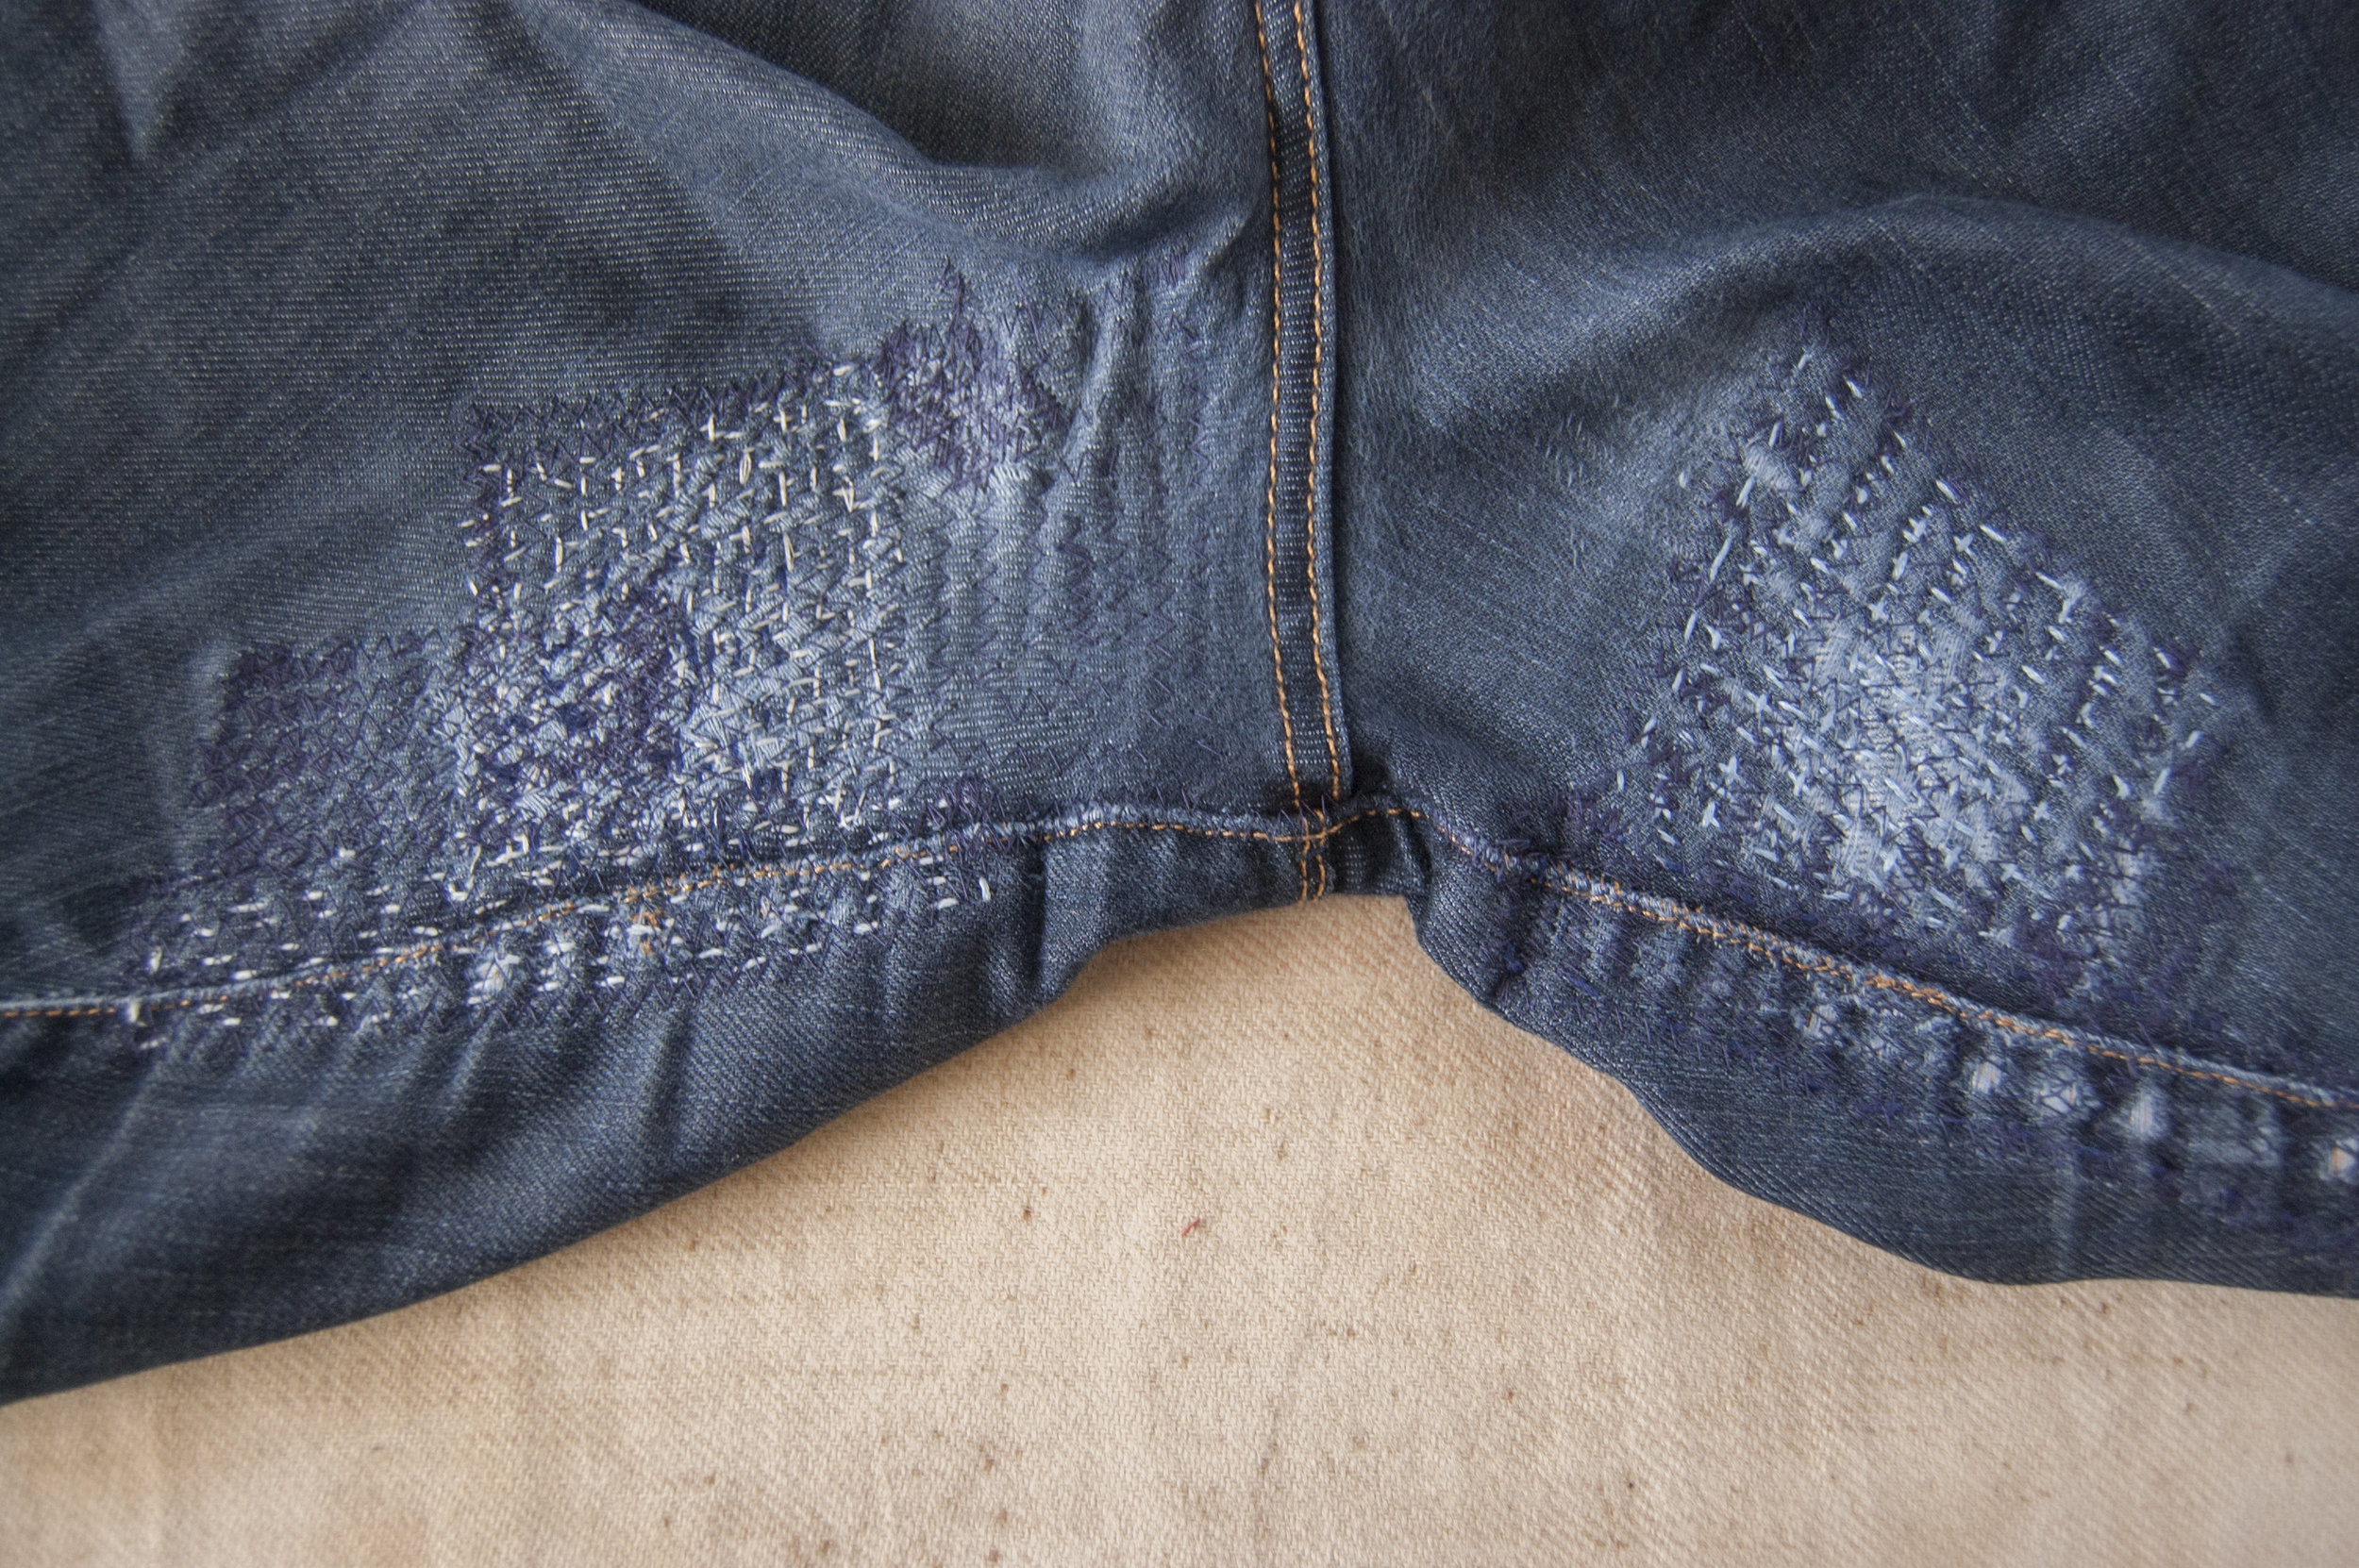
When I mended my jeans I opted for using a patch any where the denim was beginning to thin. The inside thigh area was so worn, and would continue to wear... essentially I was building a new layer of fabric under one that was disappearing.
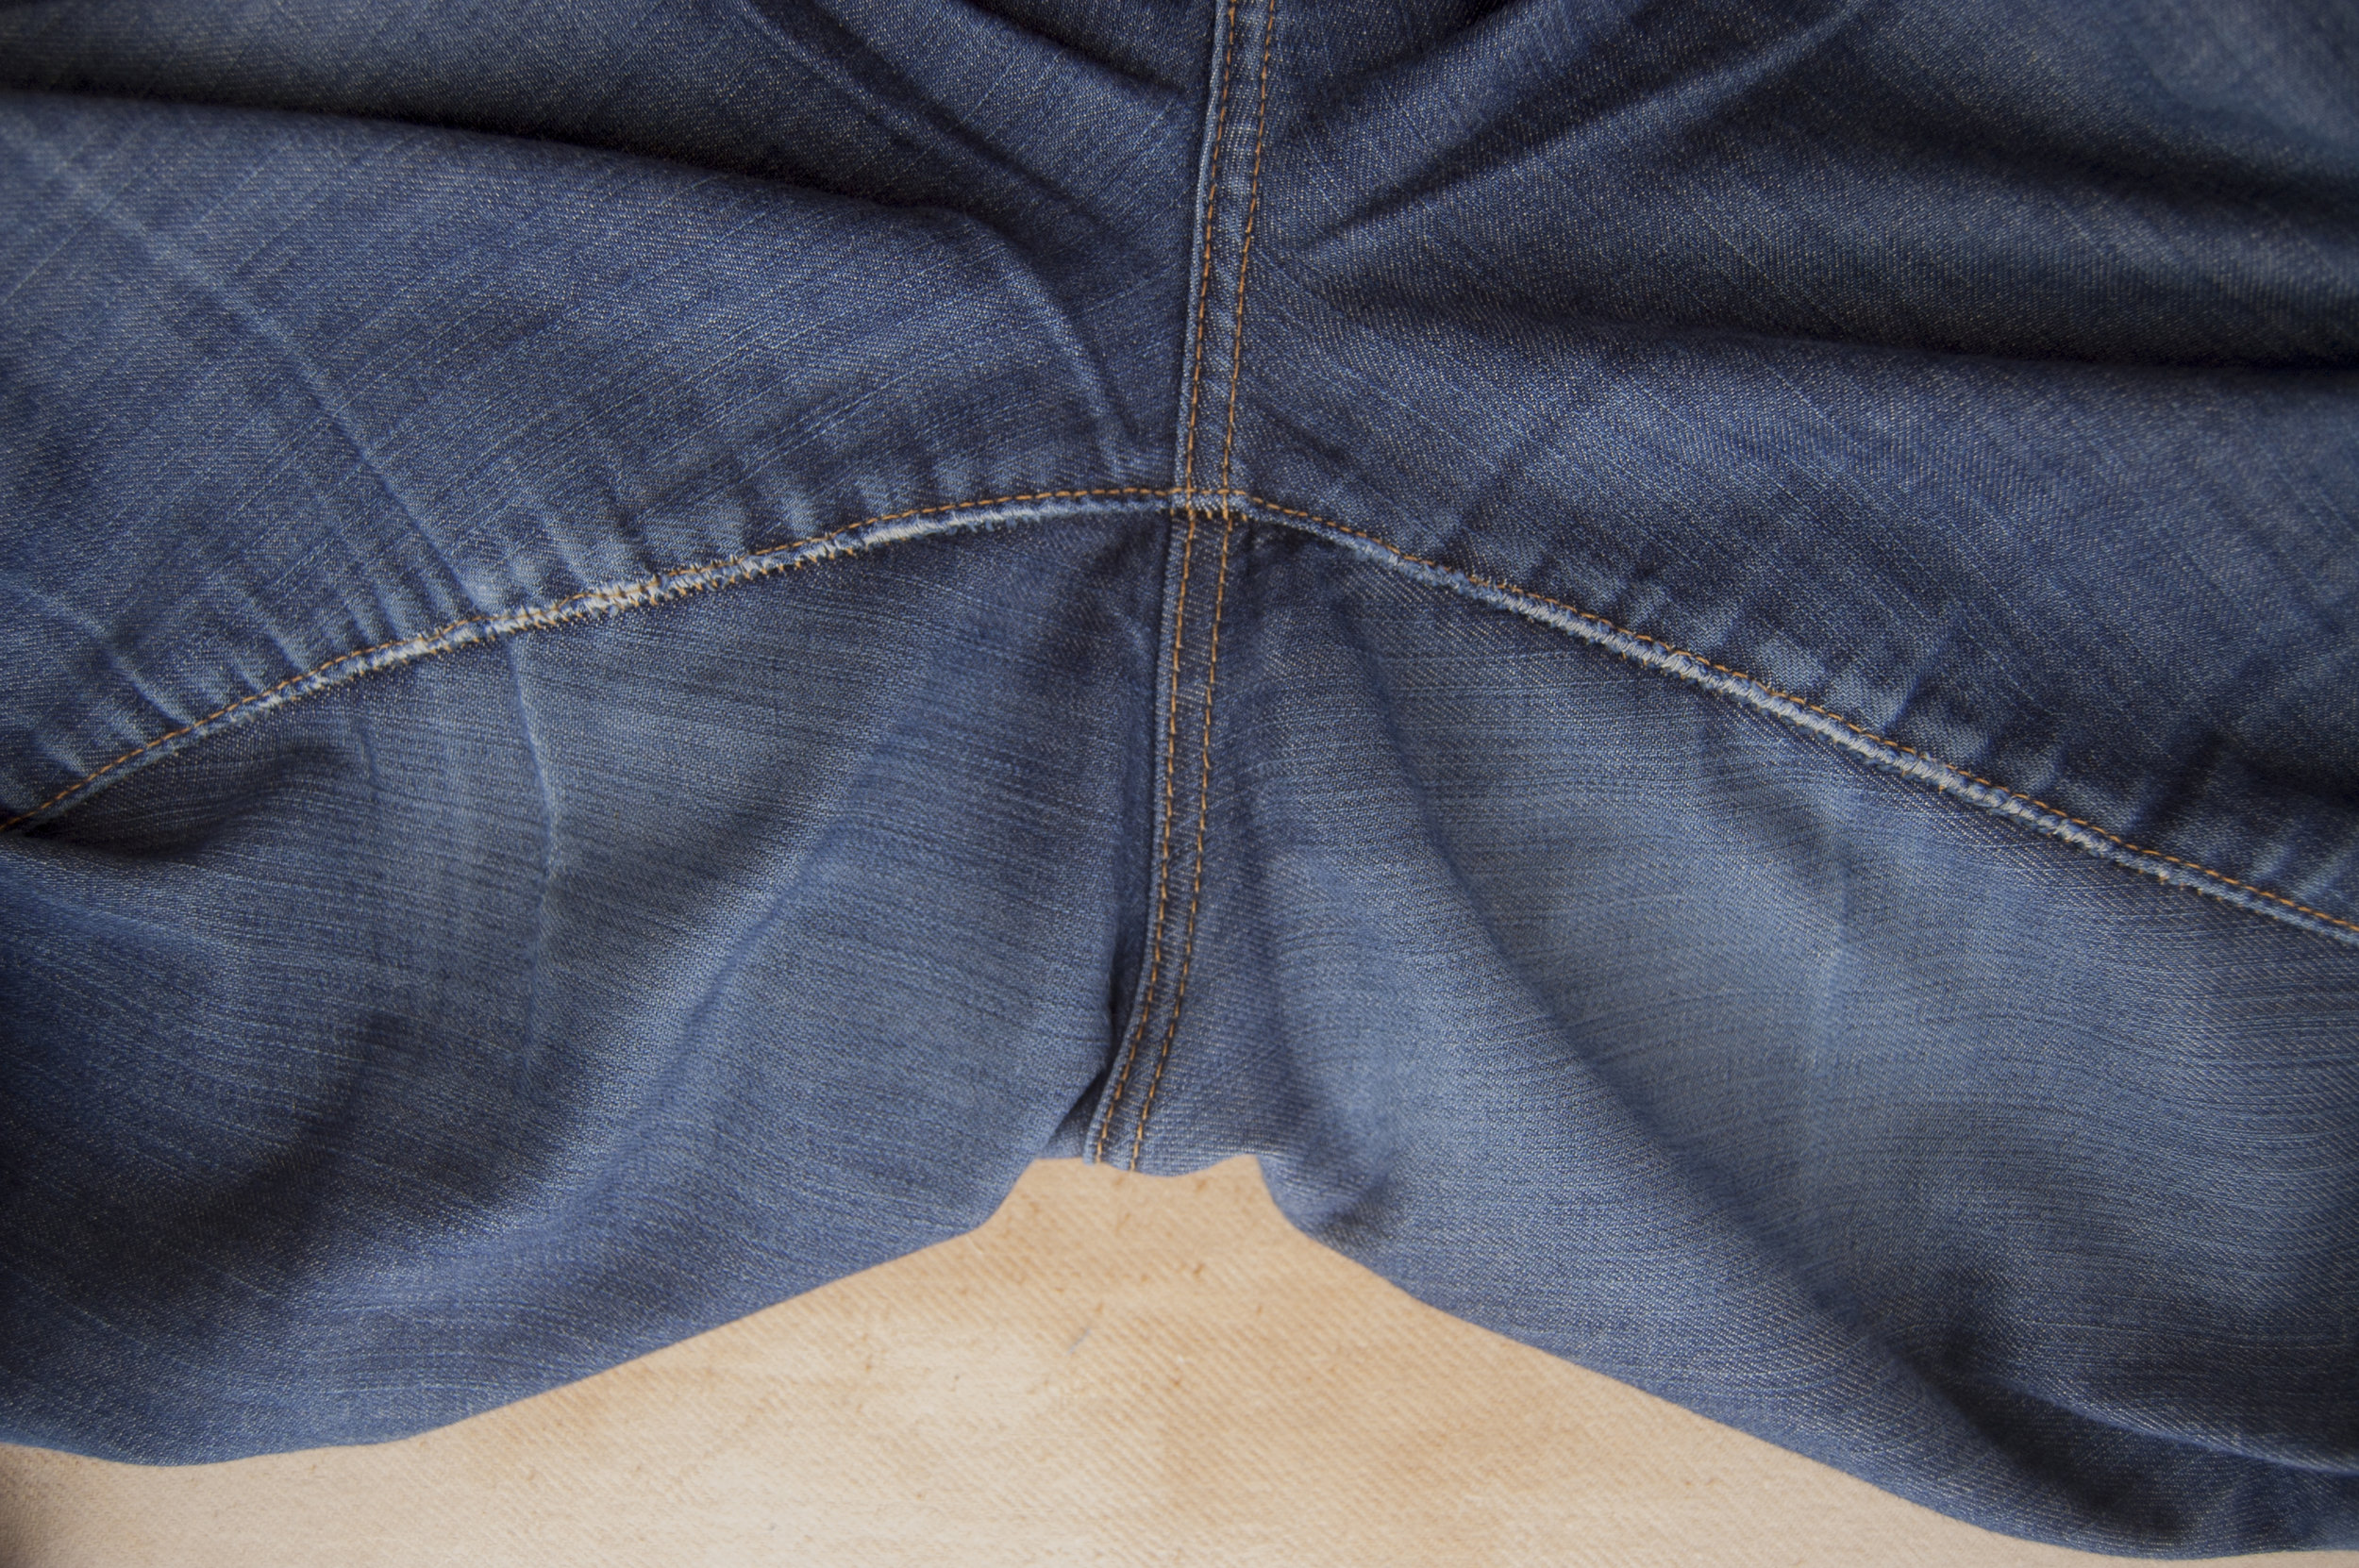
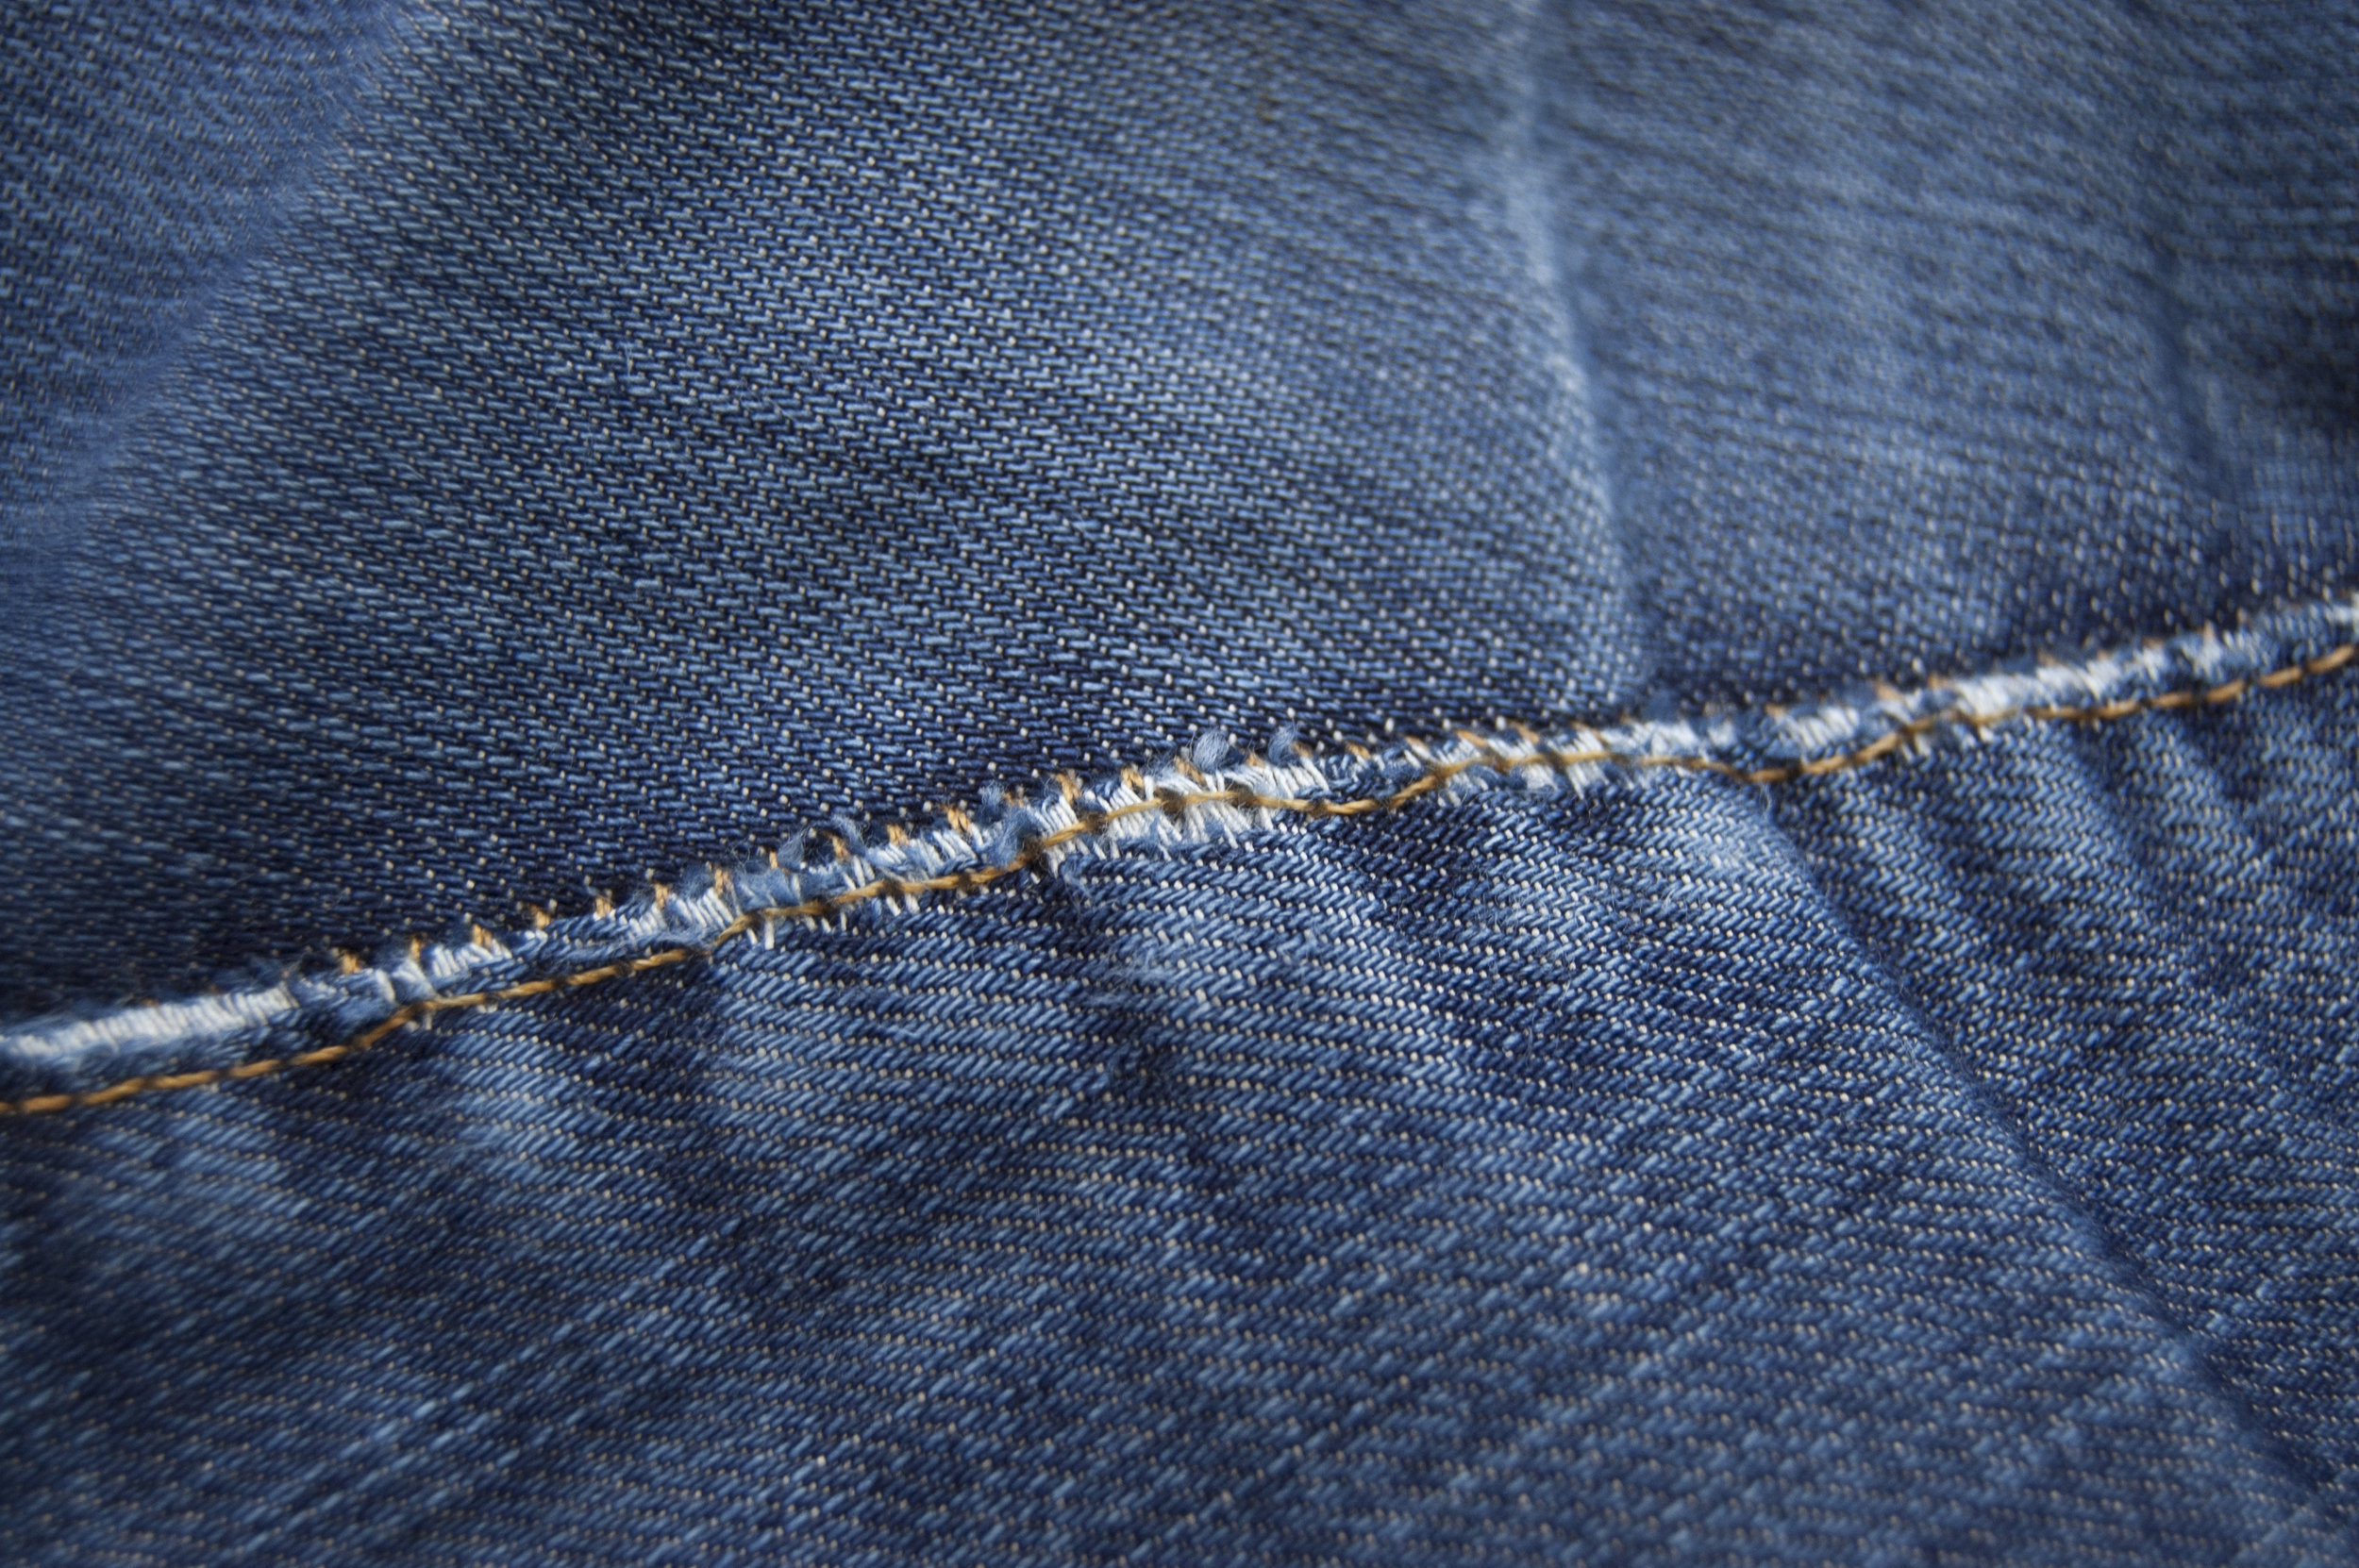
You can see in the photo above that the inside thighs are wearing more quickly than the rest of the denim.
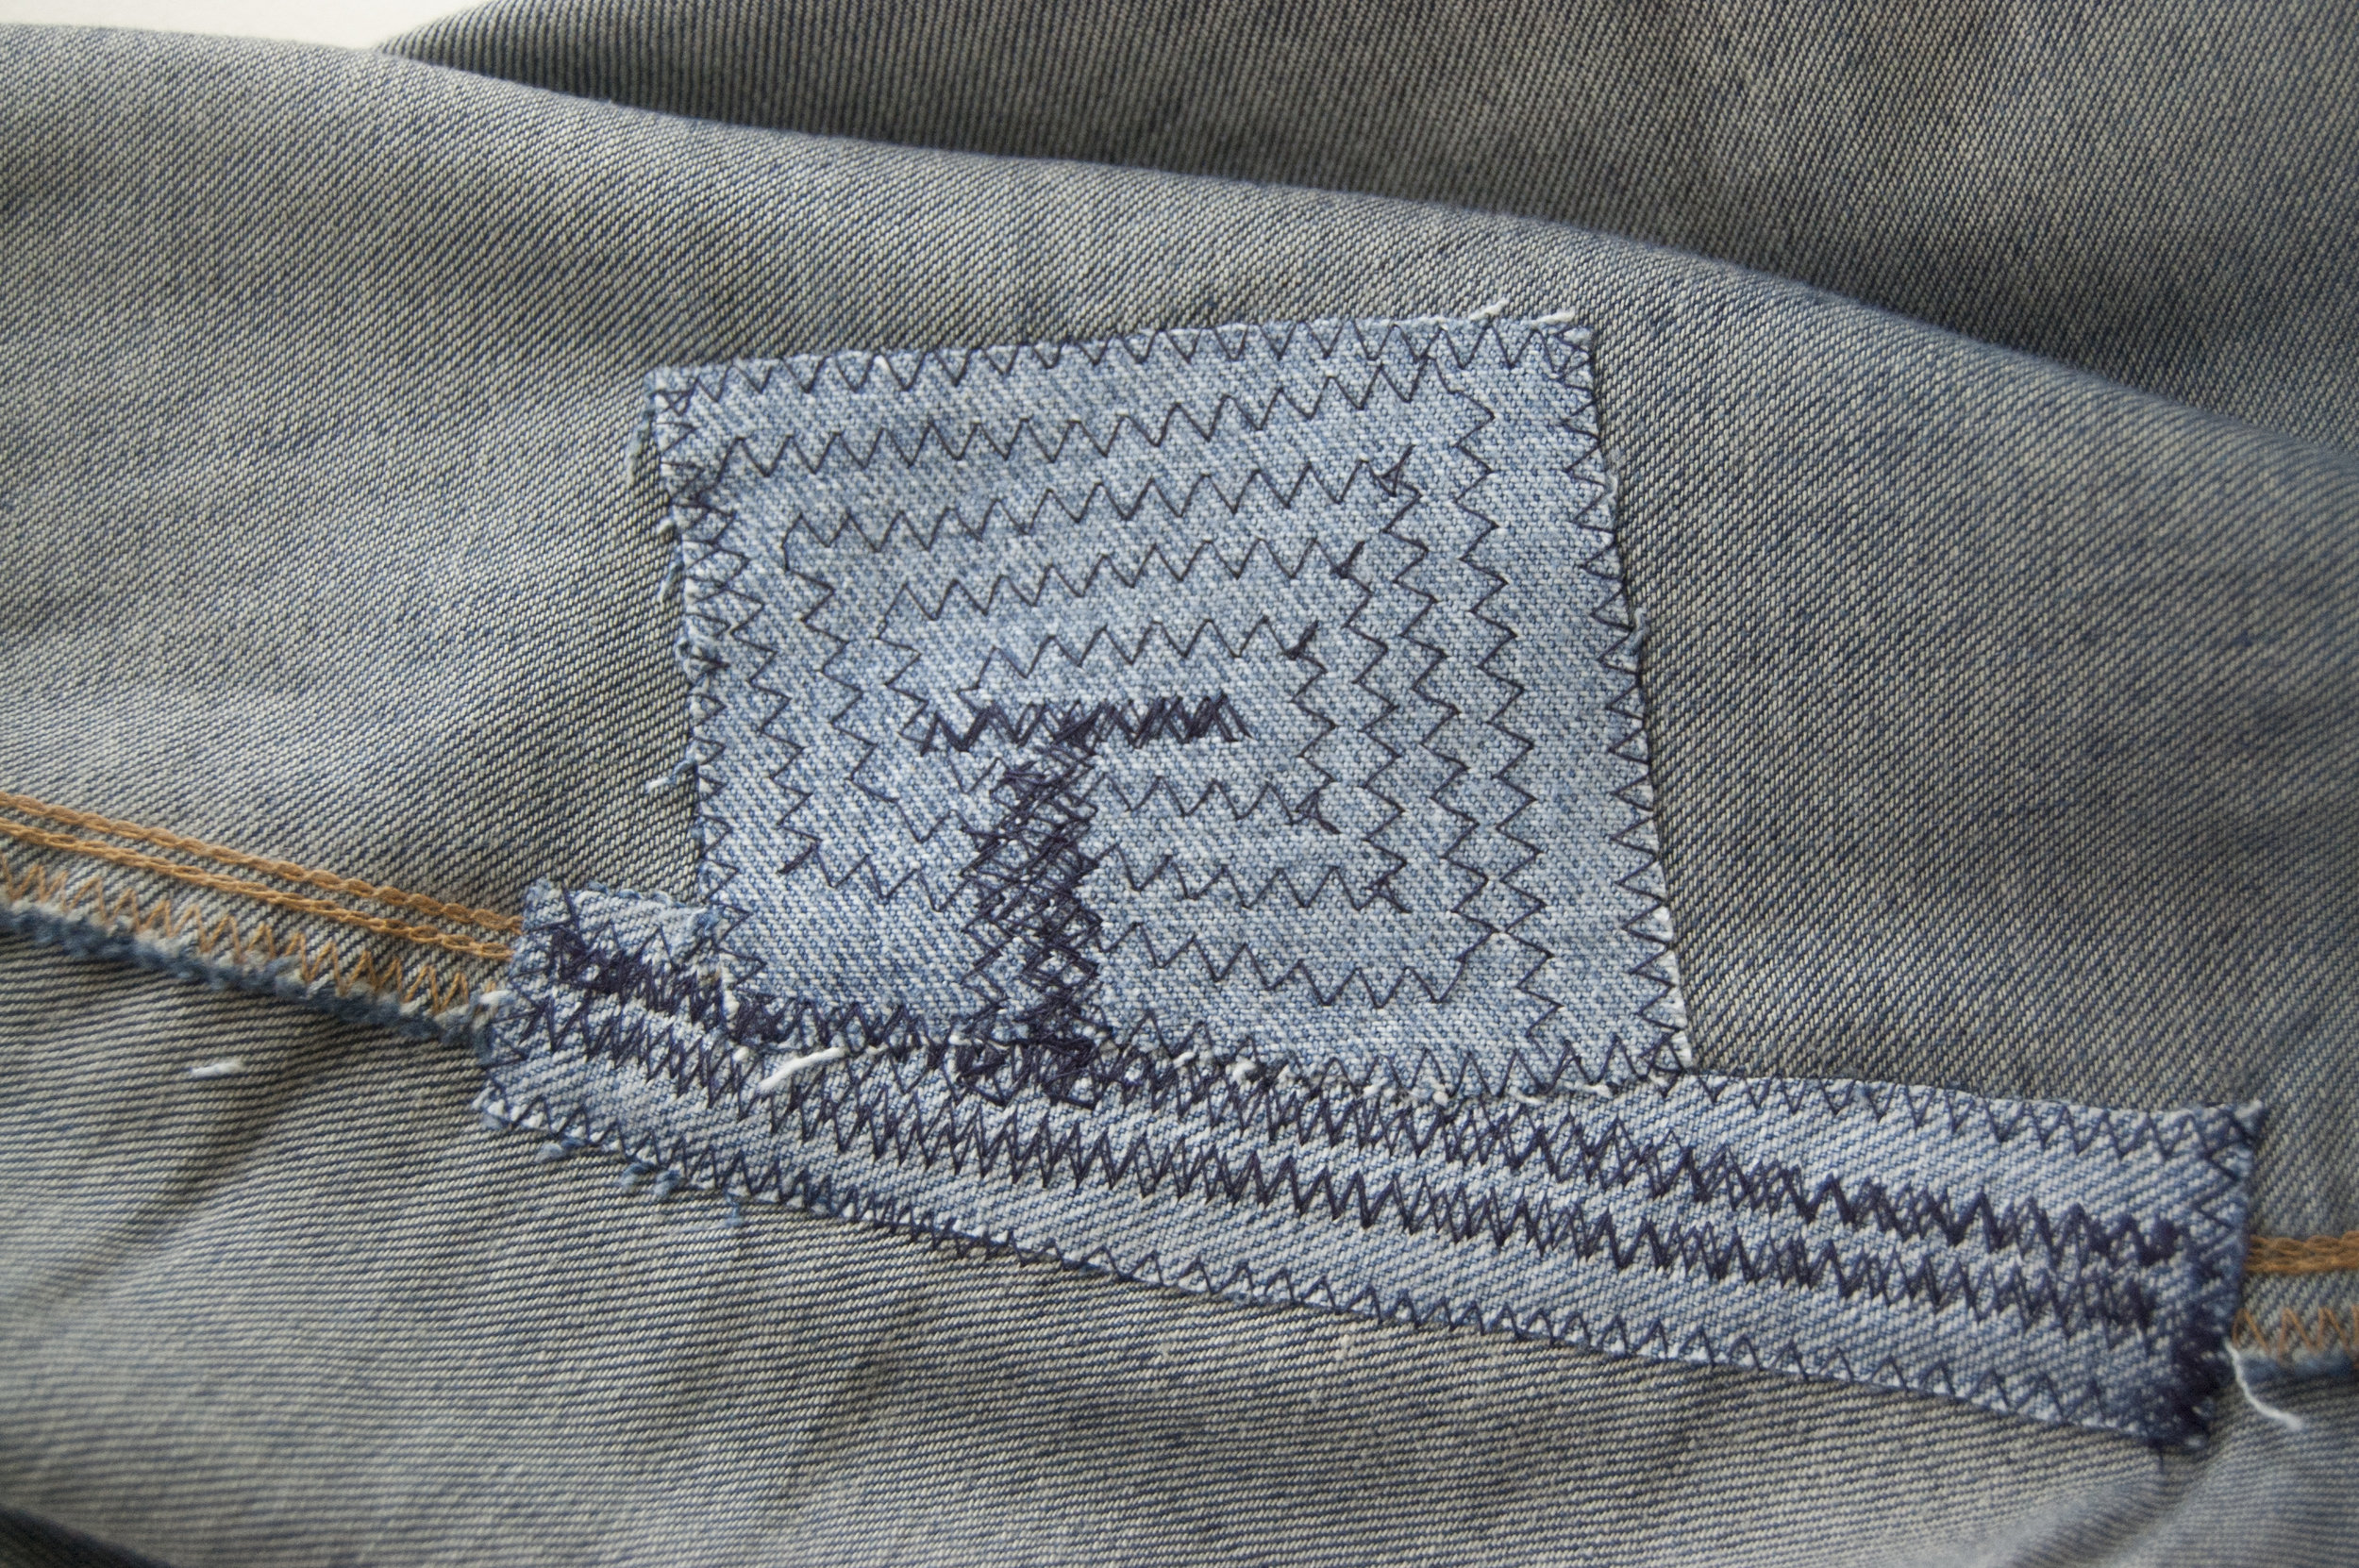
I have lots of denim scraps from my quilting and use those as patches. Place the patch on the jeans to make sure it's the correct size.
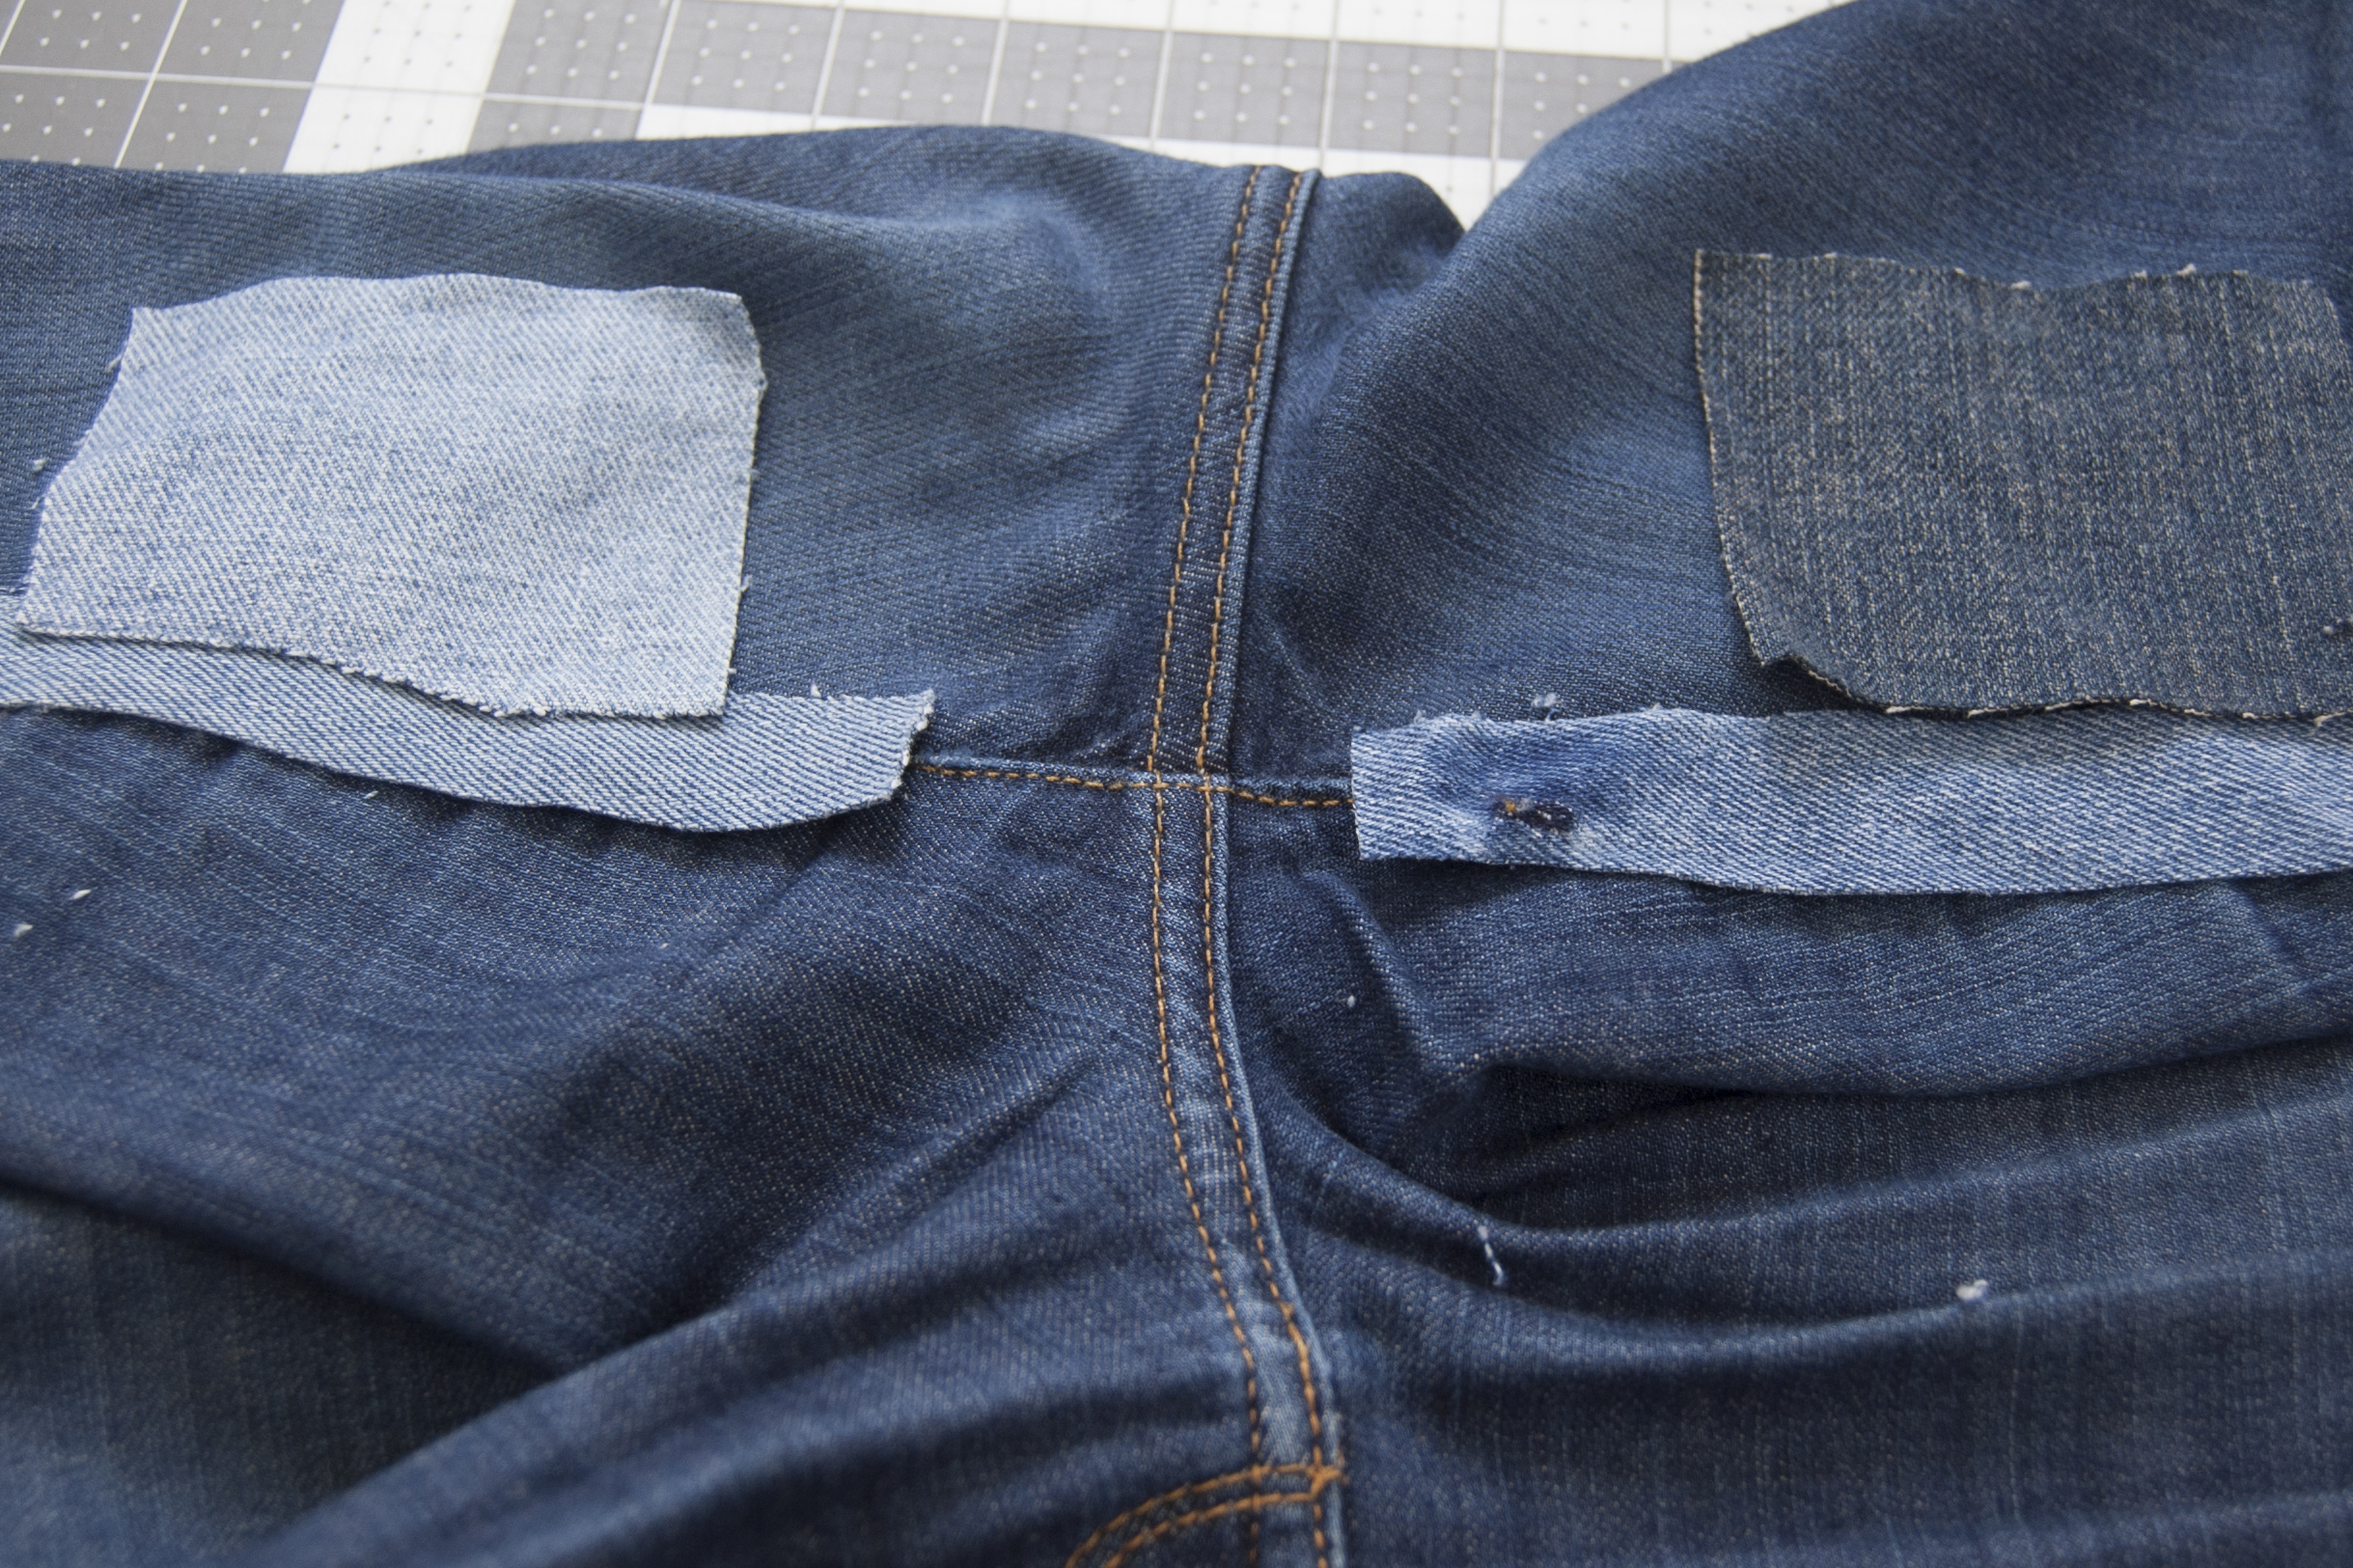
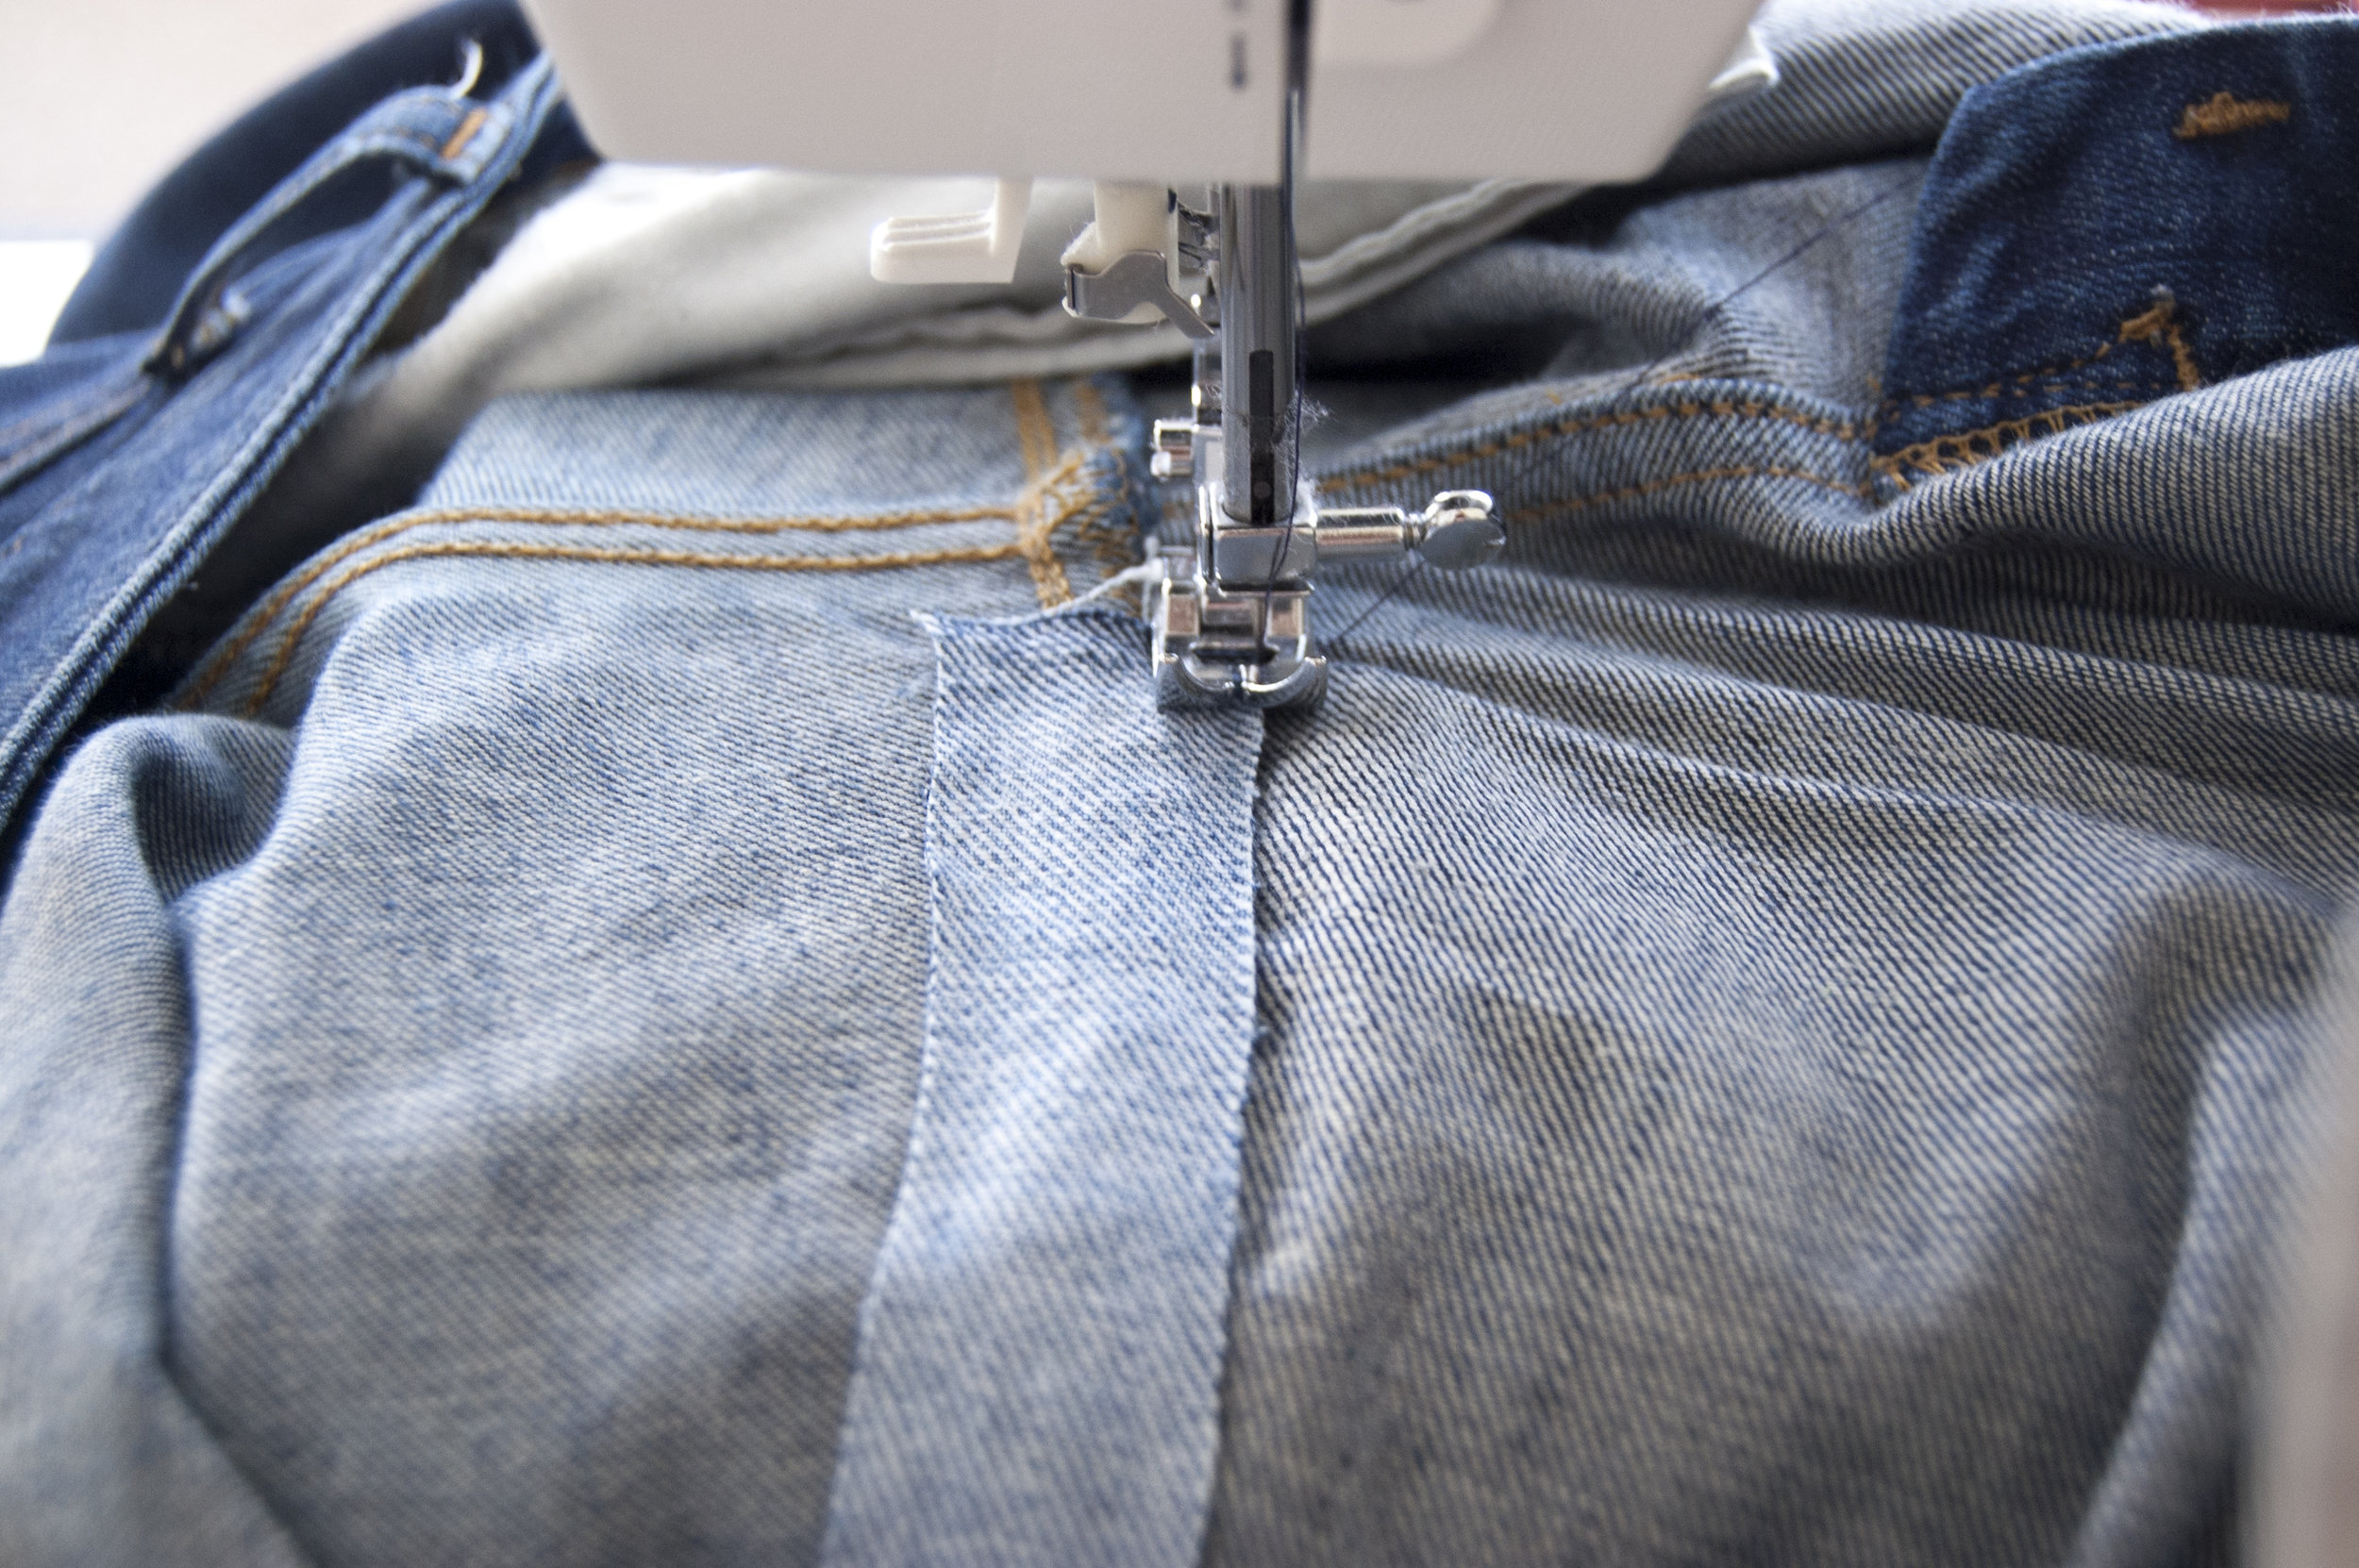
I found that holding the patch in place with a small bit of acid-free glue stick did the trick as positioning the jeans under the machine can be tricky and pins often get in the way. I put the glue on the right side of the denim patch, so if the fabric of the jeans wears away entirely, that's the side that will show through.
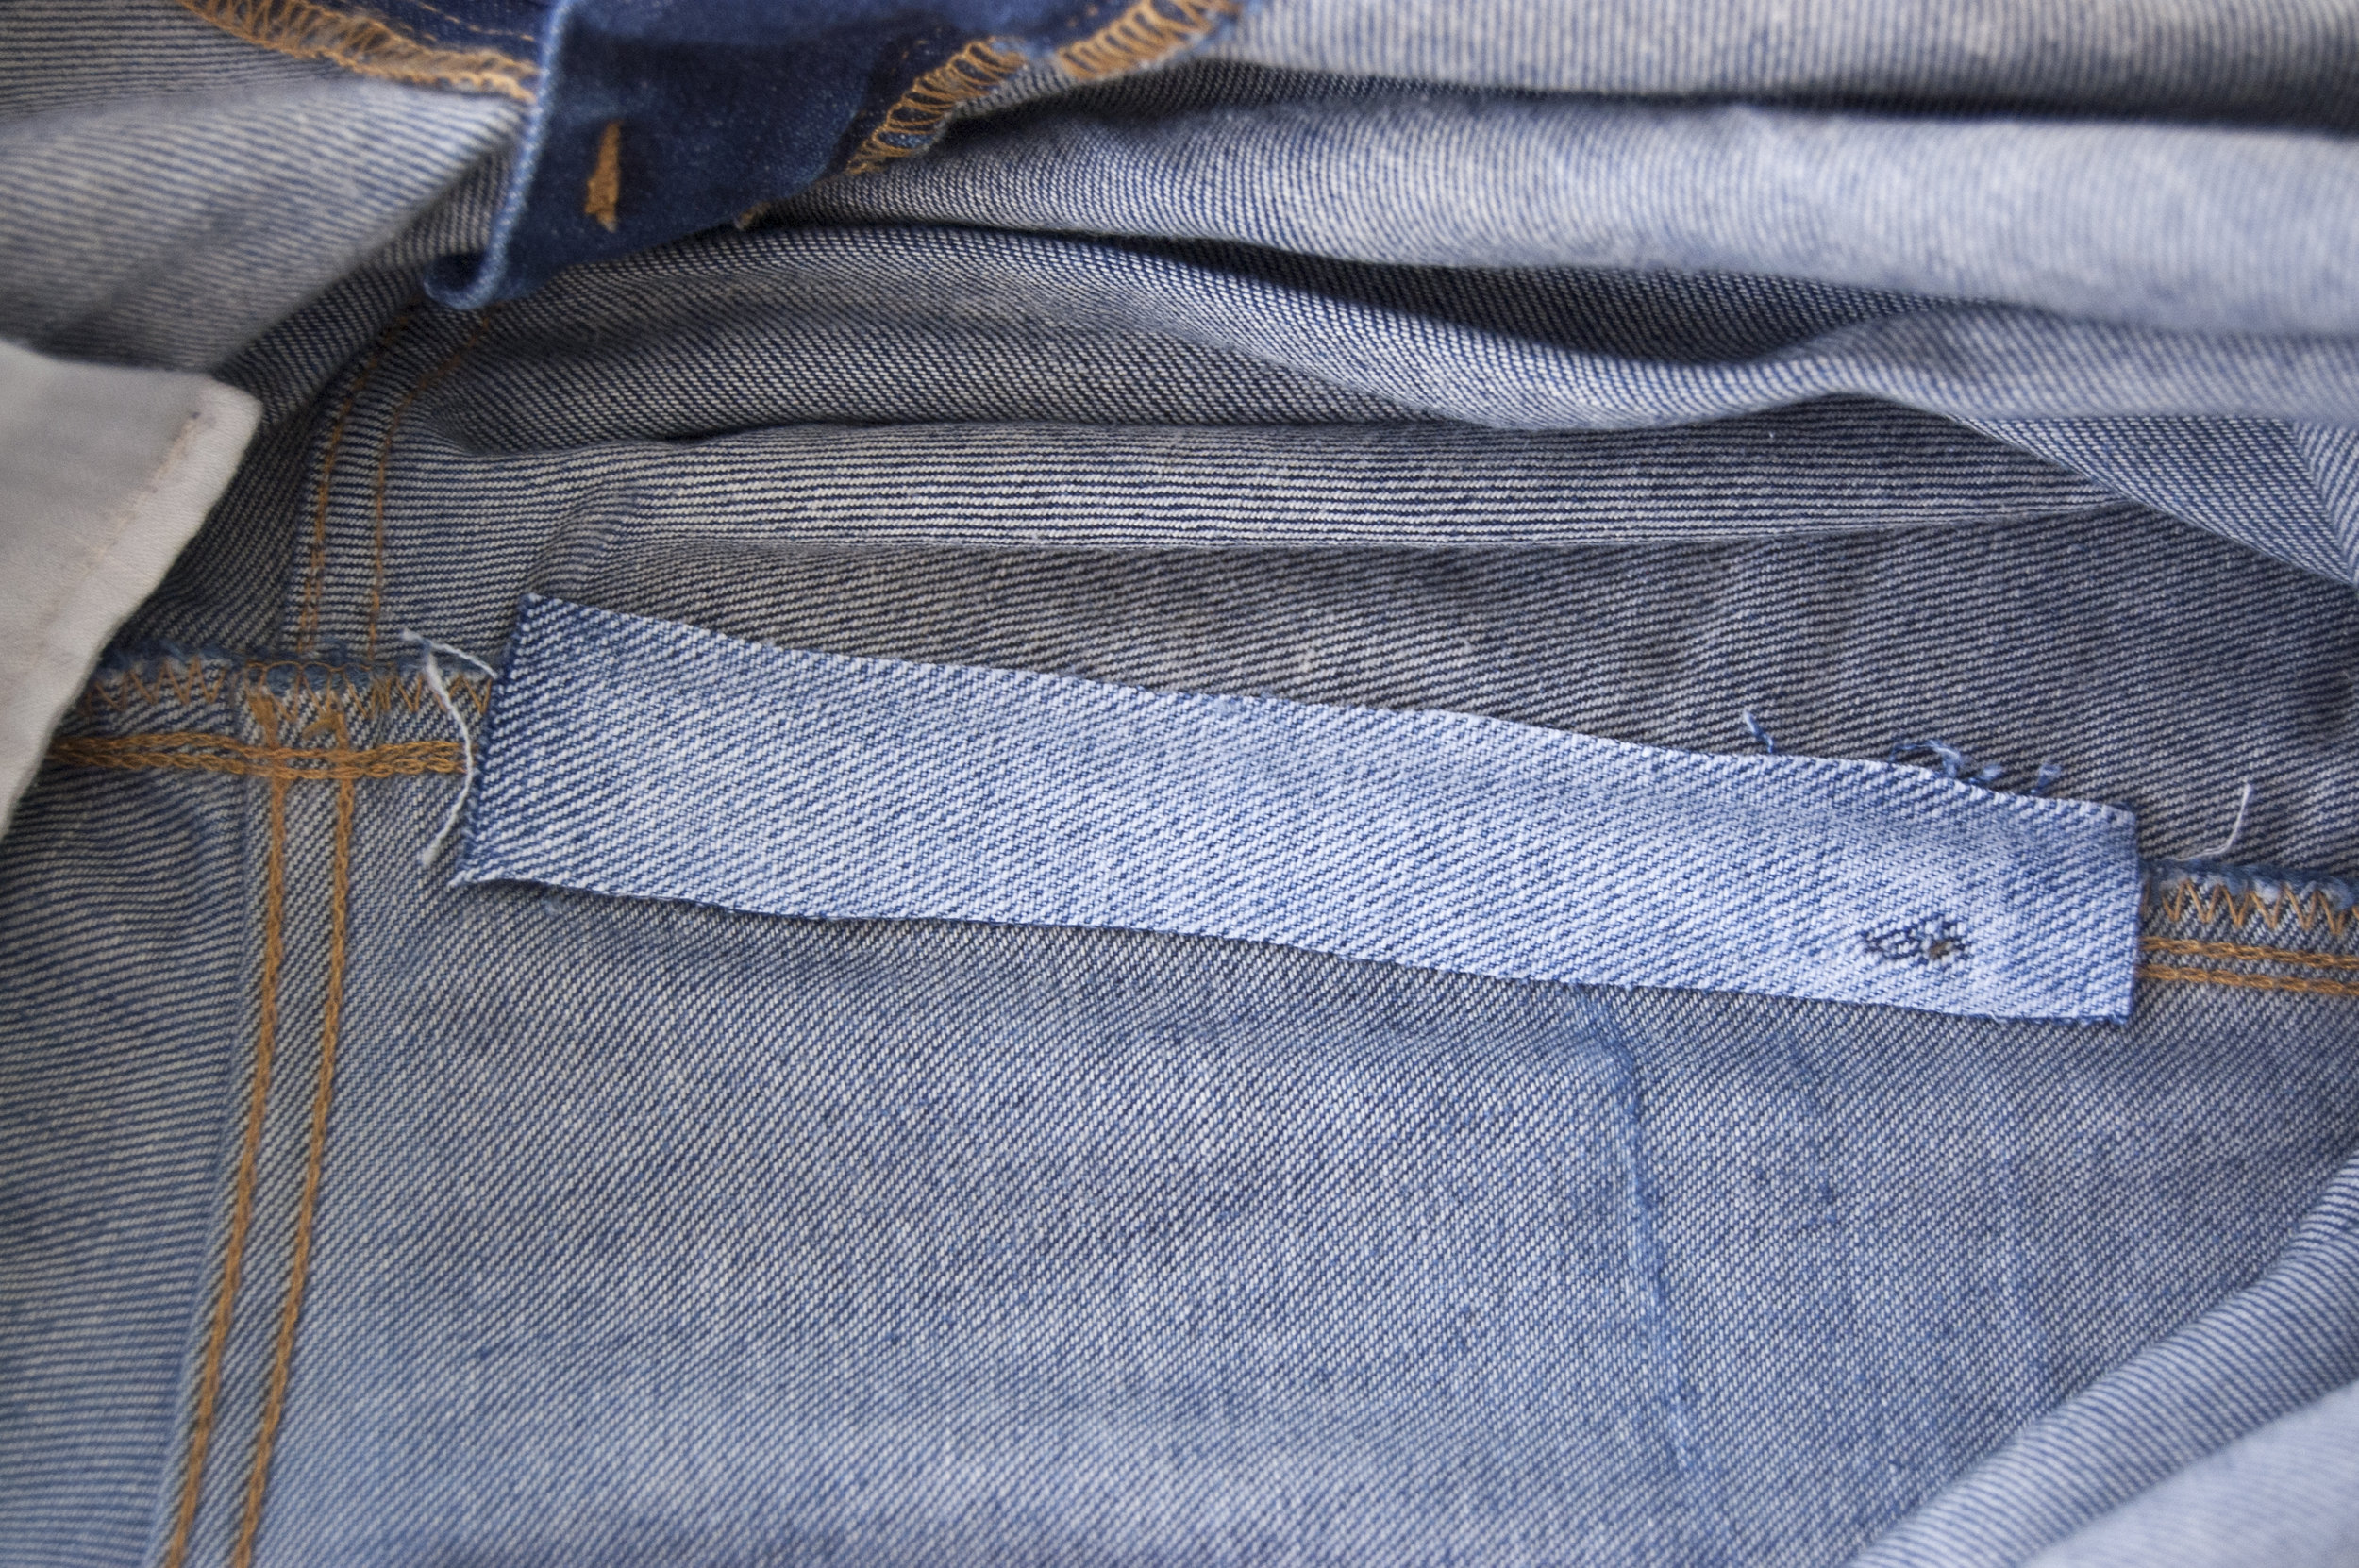
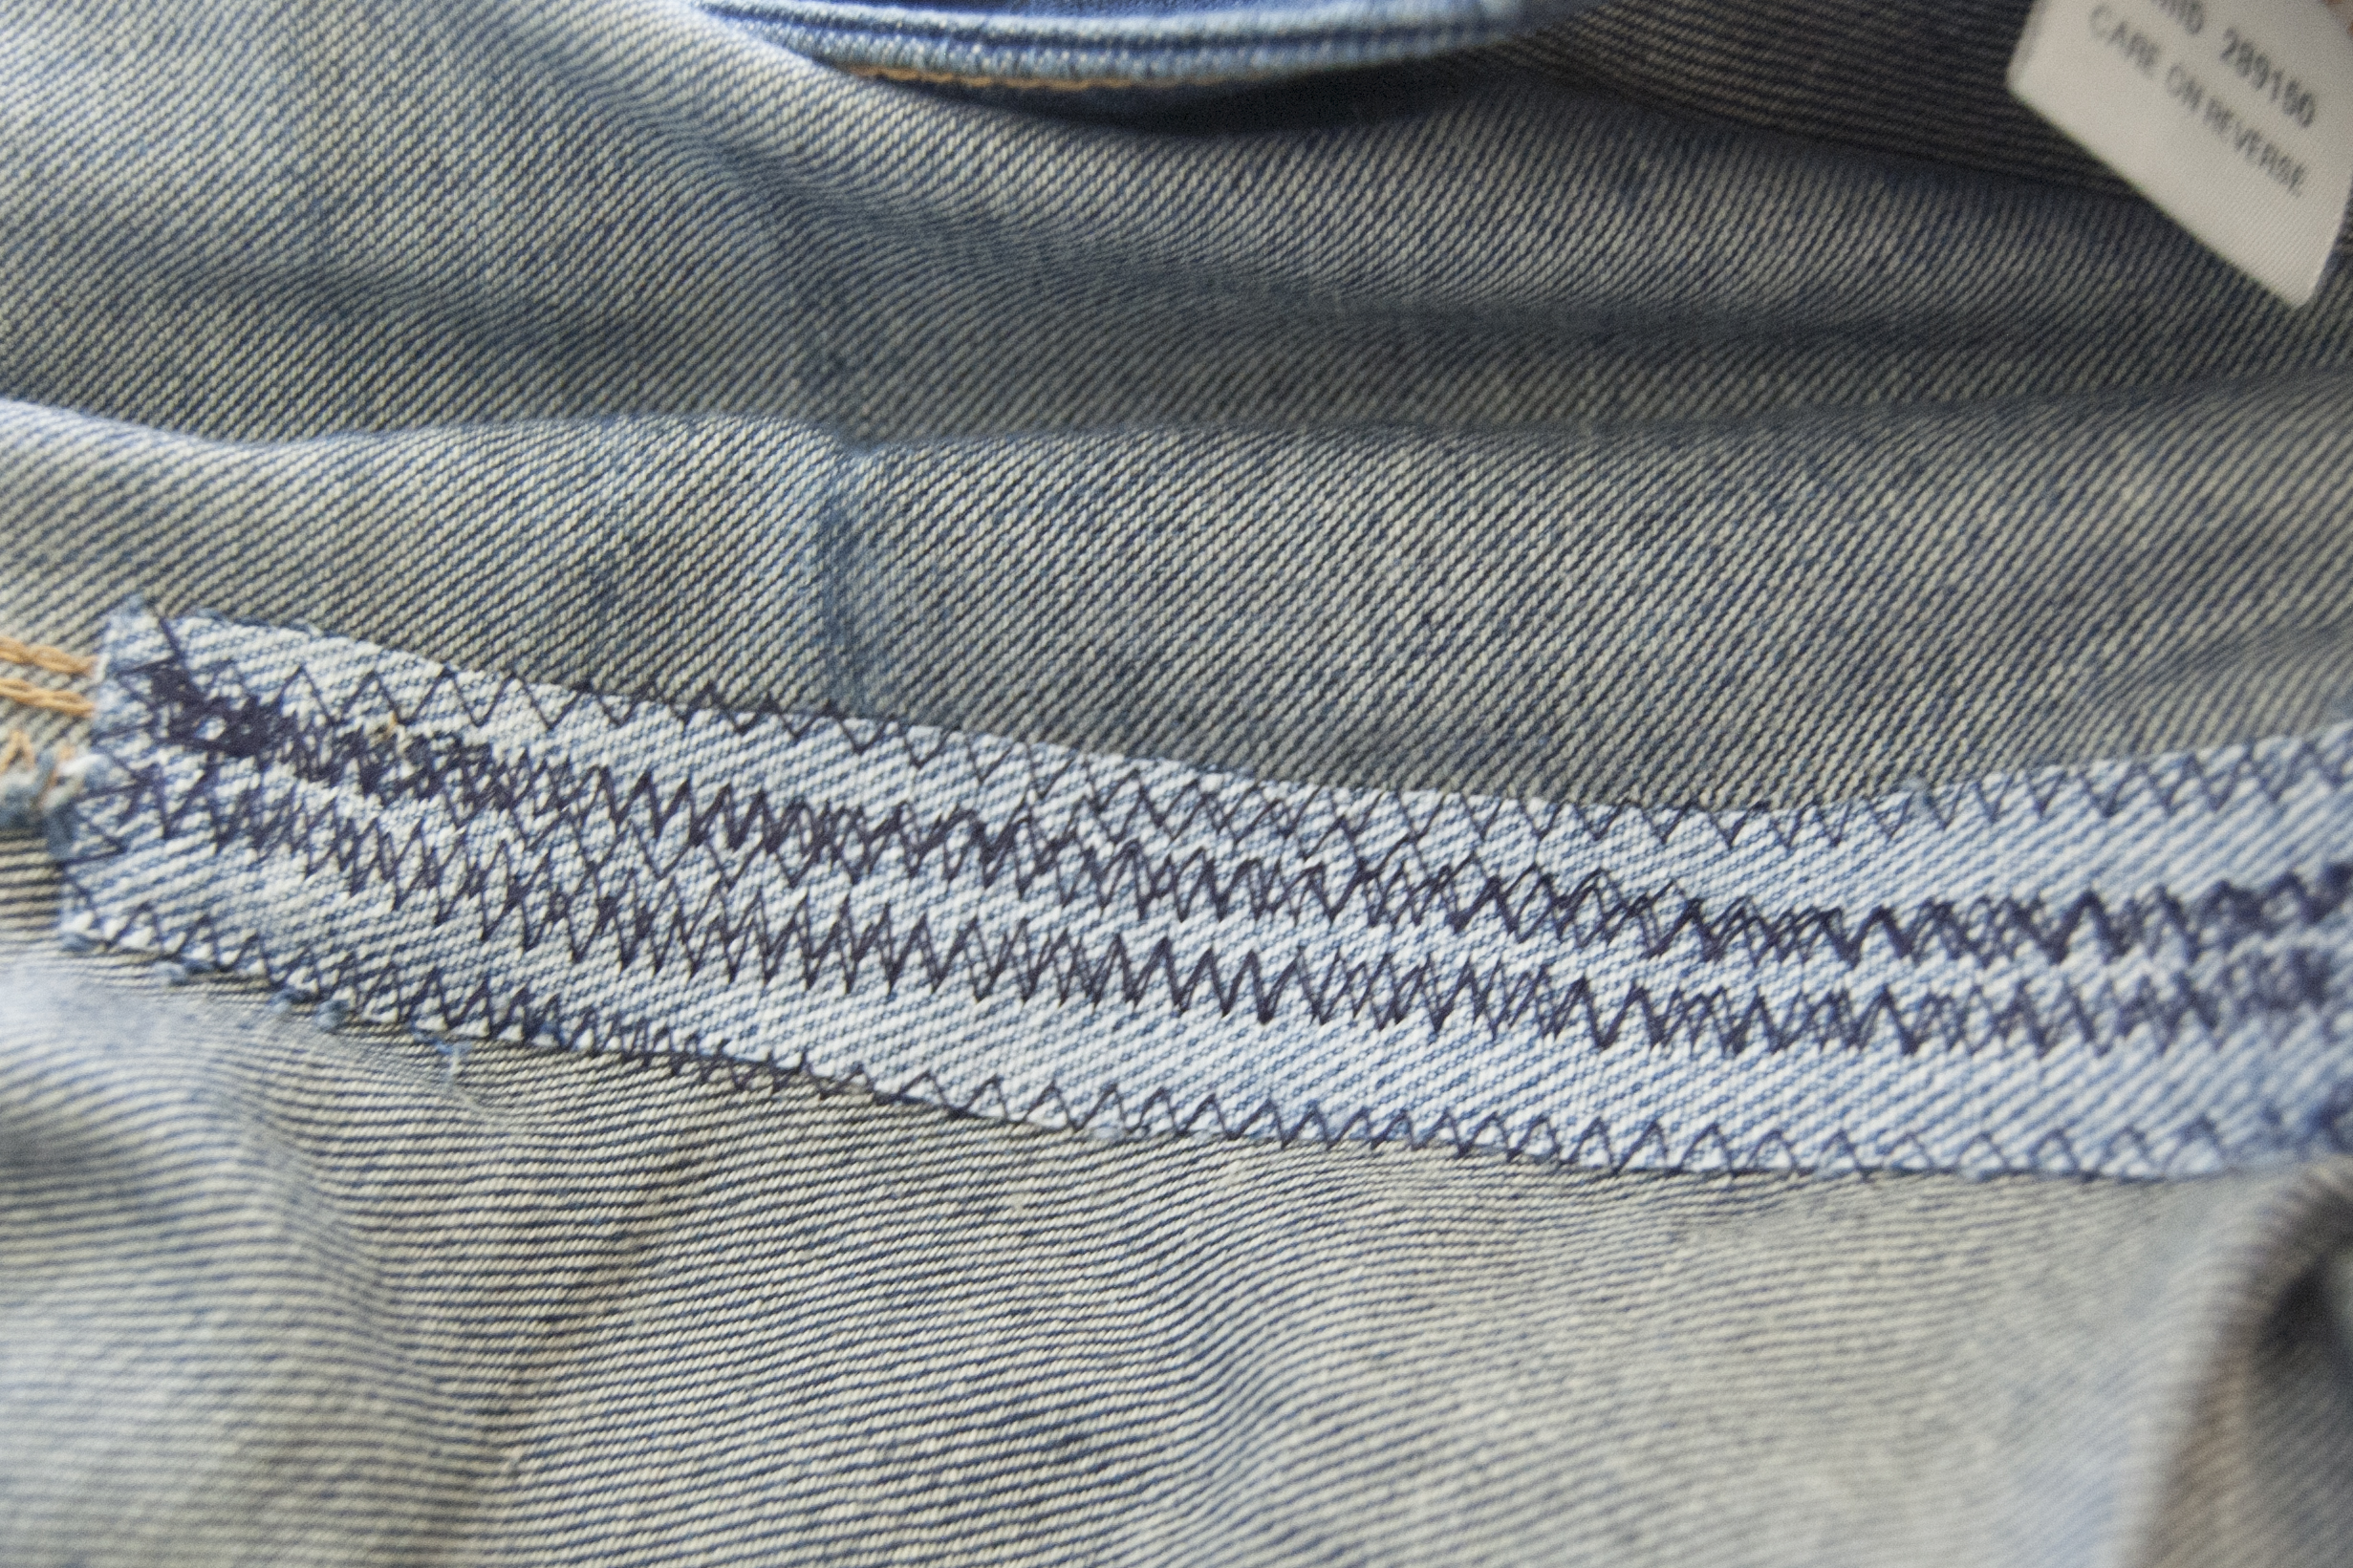
I prefer to sew around the patch to begin; I use a zig-zag stitch because it distributes the weight of the thread more evenly than just a straight stitch. My sewing pattern varies depending on what patch I am sewing, sometimes I opt for a cross hatch, sometimes repetitive lines; my go to favorite lately is a spiral/maze shape. Most importantly you want the patch to be secure and flat.

Repeat the steps above for any additional patches you need.

The patches may feel awkward at first, especially if the jeans are a snug fit. Eventually the difference in thickness will be barely noticeable, especially as the outer layer of denim continues to wear.
Please keep in mind that this how-to isn't a one time fix! The jeans will continue to wear and need mending so long as they're being used.
If machine mending isn't your thing and you're more interested in hand stitching options, check out Katrina Rodabaugh or Heidi Parkes.
Feel free to comment with questions or to share pictures of your mended jeans! :)